What is Prepress?
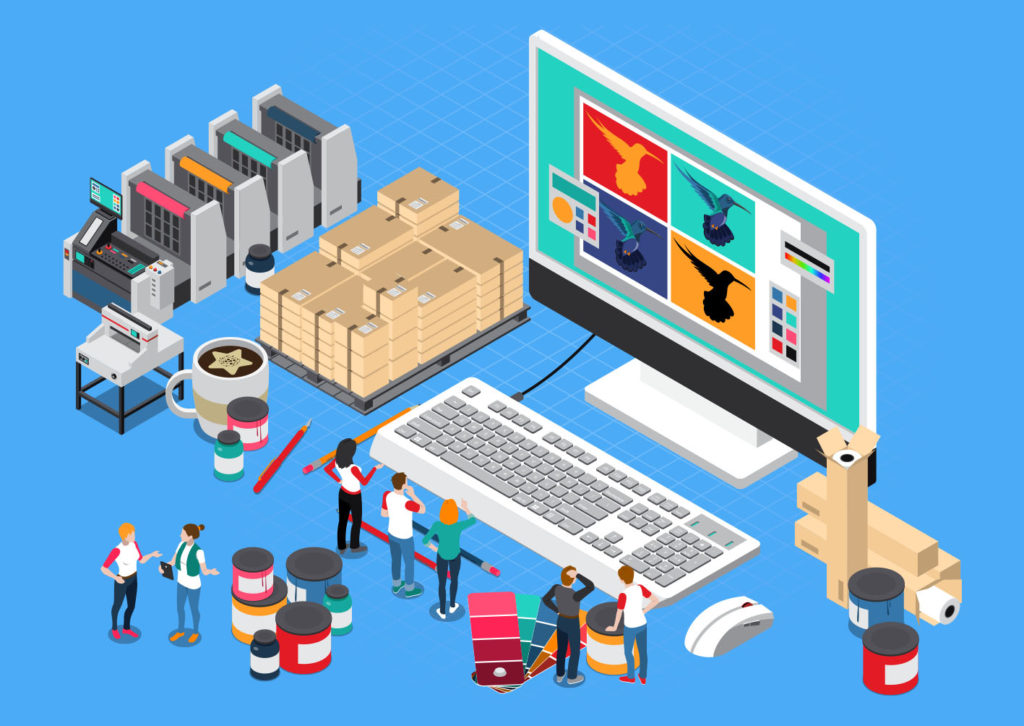
Prepress, also known as colour separation in Malaysia, is a crucial stage in the printing process. It happens before actual printing begins. Prepress prepares the artwork so it can be printed accurately and consistently.
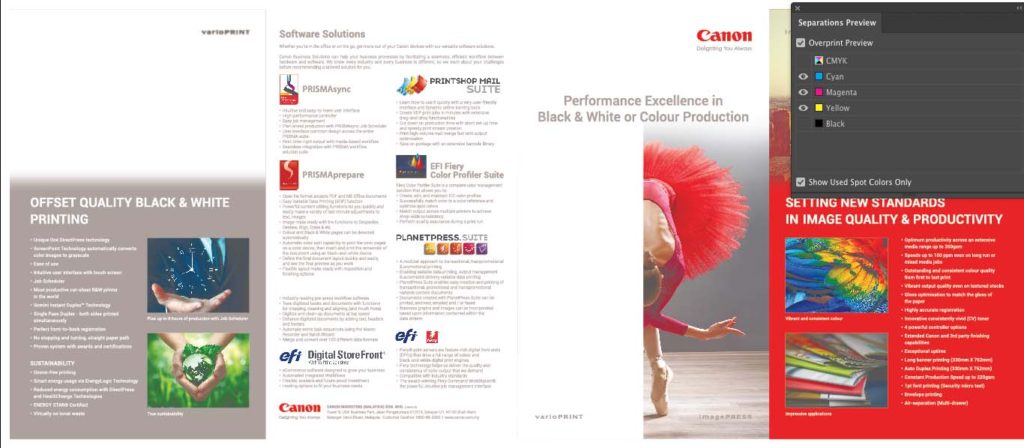
Traditionally, prepress referred to separating artwork into the four CMYK colours—Cyan, Magenta, Yellow, and Key (Black). This was necessary for offset printing because each colour required a separate printing plate.
The Evolution of Prepress in Malaysia
In the 1990s, colour separation was a booming industry in Malaysia. The machines used to produce printing films were huge and extremely expensive. Because of this, specialised colour separation companies played an essential role in the printing industry.
Many of these companies employed more than 40 staff. Skilled operators were needed to manage the machines, handle colour correction, and prepare films for printing.
The industry changed with the introduction of direct-to-plate (DTP) technology. At the same time, more affordable printing machines—especially from China—entered the market. These advancements reduced costs and simplified workflows.
As a result, large colour separation houses gradually declined. Today, most prepress companies in Malaysia are smaller, often with fewer than 10 people. Even so, their role remains critical. Printing cannot begin without proper prepress preparation.
Why Do Prepress?
Prepress ensures a smooth transition from digital design to printed output. It helps prevent costly mistakes and printing errors.
In the past, prepress work was time-consuming and physically demanding. Designers and art directors often visited colour separation houses late at night, sometimes at 2 a.m., to review calibrated monitors and printed proofs.
If problems were found, films had to be redone. New proofs were printed. This process could repeat several times before approval.
Today, technology has made prepress faster and more efficient. Designers can create print-ready PDFs and send them directly to printers. Printers now handle digital proofing and plate production in-house.
However, many designers still underestimate the importance of prepress knowledge. Understanding prepress helps improve Final Artwork (FA). It saves time, reduces cost, and results in better print quality—especially for Packaging Box Printing Malaysia.
The Main Steps in Prepress
1. Colour Quality
Colour accuracy is one of the most critical aspects of prepress. All images must be converted to CMYK, as RGB colour mode is designed for screens and cannot be printed accurately using offset printing.
Software such as Photoshop is commonly used to manage colour adjustments. Simple tools like Curves or Auto Contrast can help improve tonal balance, clarity, and overall print quality.
When using professional stock images, extensive colour correction is usually unnecessary. In most cases, converting the images to CMYK is sufficient, as they are already optimised for printing.
2. CMYK Black vs. Solid Black
Black may look simple, but incorrect colour settings can cause serious printing issues. When Cyan, Magenta, or Yellow are unintentionally mixed into black text or fine graphics, the result often appears muddy or overly thick.
For body text and small graphics, using 100% K (black) ensures clean, sharp, and readable results. For larger black areas or backgrounds, a rich black mixture such as C30 M30 Y30 K100 is commonly used to create depth and richness.
When small white text is placed on a black background, a simpler mix such as C30 K100 is recommended. This helps maintain sharper edges and reduces registration problems during printing.
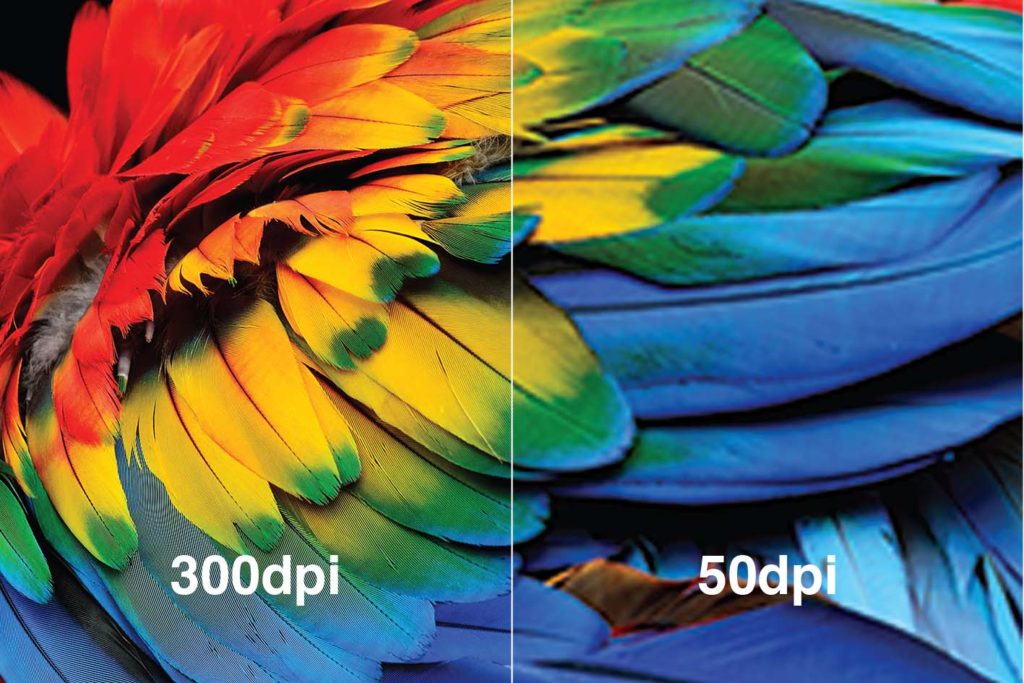
3. Printing Resolution
Image resolution directly affects print clarity. For offset printing, all images should be at least 300 dpi to ensure sharp details and clean reproduction.
Common file formats such as TIFF, PSD, and JPEG are all suitable for printing. PSD files are preferred when further editing is required, while JPEG files are often used when smaller file sizes are needed for easier handling.
4. Create Outlines for Fonts
Fonts should always be converted to outlines before sending artwork for printing. This prevents font substitution issues that can occur when files are opened on different systems.
Outlining fonts ensures the artwork appears exactly as intended and protects the design from accidental or unauthorised changes during the printing process.
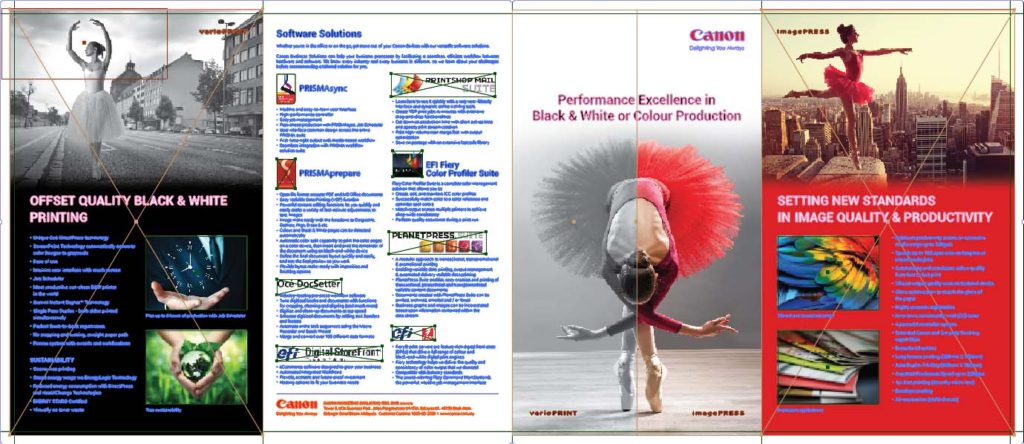
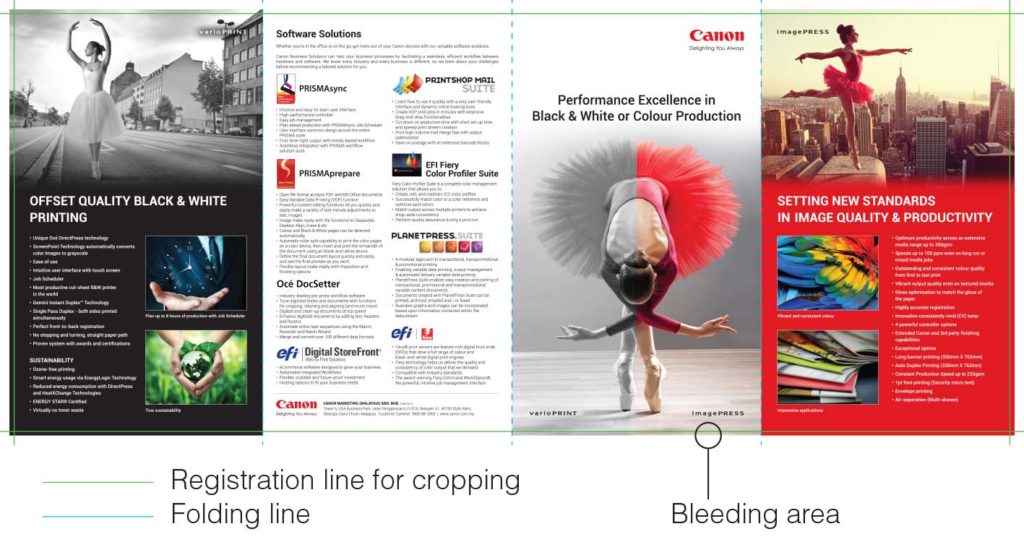
5. Registration and Folding Lines
Registration marks indicate where printed artwork will be trimmed after printing. They are essential for accurate cutting and finishing.
For packaging boxes, brochures, or folded materials, folding lines must also be included. These lines guide post-print processes such as folding, die-cutting, or creasing and are usually shown as dashed or perforated lines.
6. Bleed Areas
Bleed is required to prevent unwanted white edges after trimming. Artwork must extend beyond the final trim size so that slight cutting variations do not affect the finished result.
A minimum bleed of 3mm on all sides is standard practice, especially for designs with background colours or images that reach the edge of the page.
7. High-Quality PDF Creation
Once all images are confirmed in CMYK and fonts have been outlined, a high-quality PDF should be created. This file becomes the final artwork sent to the printer.
The printer will review the PDF and produce a digital colour proof for approval. Only after confirmation will plate-making and printing begin.
8. Select the Right Paper
Paper selection plays a major role in how the final printed product looks and feels. The same artwork can produce very different results depending on the paper used, so this decision should never be made lightly.
Matte paper offers a soft and non-reflective finish. It is often chosen for corporate packaging or designs that require a more elegant and understated appearance. Glossy paper, in contrast, enhances colour vibrancy and sharpness, making it suitable for designs where strong visuals and bright colours are important.
For brands producing premium or high-end products, higher-grade paper stocks are often selected. These papers add weight, texture, and perceived value to the packaging, helping to reinforce a quality brand image.
Because paper characteristics cannot be fully evaluated on screen, it is always advisable to consult your printer and review physical paper samples before making a final decision.
9. Pantone Colour in Printing
Pantone colours are used when consistent and accurate colour reproduction is required. This is particularly important for brands with strict corporate identity guidelines, where colours must remain uniform across different print runs and materials.
Unlike standard CMYK printing, Pantone colours require additional printing plates. Each Pantone colour is printed separately, which increases setup time and production costs. However, this method provides greater colour reliability, especially for logos and key brand elements.
When exact colour matching is critical, using Pantone colours is often the preferred option, even though it involves higher printing costs.
10. Special Print Finishing
Special print finishing is commonly used to enhance the appearance and perceived value of printed materials such as packaging, brochures, and promotional items. These finishes help designs stand out and create a more premium impression.
Gold or silver hot foil stamping uses heat and pressure to apply metallic foil to selected areas of the print. It is frequently used for logos, brand names, or decorative elements and is especially popular for premium and luxury products.
Spot UV involves applying a clear, glossy coating to specific areas of the design. This creates contrast between matte and glossy surfaces, drawing attention to important visual elements such as logos, text, or images.
Both finishing techniques require additional plates and more detailed setup compared to standard printing. While this increases production complexity, the visual impact and added value often justify the extra cost.
Conclusion
Prepress plays a vital role in achieving high-quality printed results. It ensures that digital designs are translated accurately into print.
Although digital printing skips many prepress steps, offset printing remains the preferred choice for large quantities and premium quality.
A reliable prepress partner provides accurate digital colour proofs. This allows changes to be made before printing begins.
By understanding prepress and working closely with your printer, you can reduce errors, control costs, and achieve professional results in Packaging Box Printing Malaysia.
Please contact Uniquelink for advice and support on prepress and packaging box printing solutions.
2 Responses
Your point of view caught my eye and was very interesting. Thanks. I have a question for you.
Thanks for sharing. I read many of your blog posts, cool, your blog is very good.